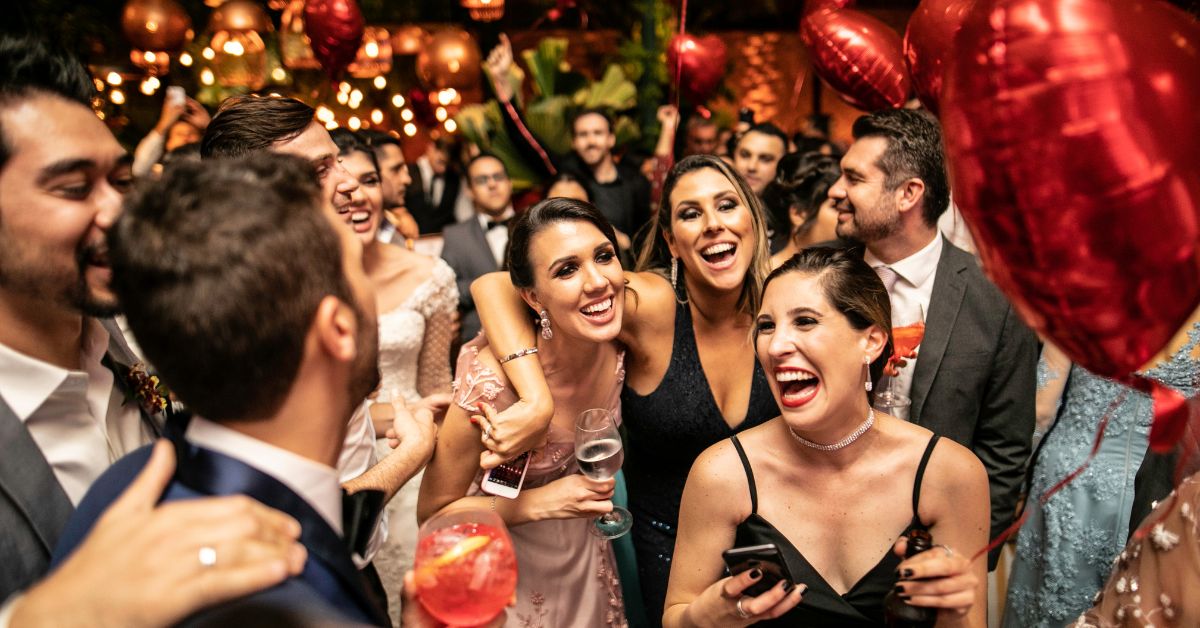
If you’re planning to wear a suit and tie to a wedding, you might think it’s easier than finding the perfect dress and matching accessories, but still, there are some style issues you need to figure out. The manner in which the tie is tied by the suit wearer is one of the most important details.
It is possible to find tie knots in many different styles that range from classic, simple, and elegant, to layered, detailed, and elaborate-and they don’t all have the same effect. Depending on the type of knot, some are better suited to a black-tie wedding while others are more casual and easygoing, perfect for a day at the office or a dressy date night.
Our motto when it comes to knots is less is more. In addition, the slimmer the tie knot is, the slimmer it will make the person wearing it look. The bigger the knot, the more likely it is for someone to appear larger than they are.
Here’s a bunch of the most popular tie knots and how to tie them.
You can’t go wrong with the simple elegance of a classic knot. Whether you’re tying a four-in-hand knot or a pratt knot, here are five traditional tie knots to choose from.
A Full Windsor Knot
While the four-in-hand knot is thin and one of the smallest knots that one can tie, the full Windsor knot on the other hand is one of the biggest. This full Windsor knot is a bit more substantial for a larger build, and it is proportionately bigger for the neck size and shoulder size than the half Windsor knot.
Our opinion is that you can only wear a Windsor knot with a wide collar shirt. It’s bigger too. Since it is a bolder knot, it is very popular for formal weddings.
To tie a full windsor knot, follow these steps.
The wide end of the tie should be placed on the right and the narrow end on the left. Cross the wind end over the narrow end to the left.
Make a loop at the neck by wrapping it under the narrow part, then cross the rope down to the left.
Wrap it around the narrow end on the right hand side, from back to front.
You can bring it up into the center and loop it around your neck.
Then, wrap the loop across the neck around your right side.
Cross the narrow end to the left.
Once again, bring it to the center of the neck loop.
After creating the front loop, put it through it.
Tighten the knot by pulling down on the wide end.
A Four-in-Hand Knot
It is the most basic and easiest knot of all, and it is the first knot that everyone learns how to tie. Martinez calls it a classic. “This is definitely a beginner’s knot; it’s classic, simple, and very fashion-forward.”
It reads a little more casual because it’s so slim.This four-in-hand knot is something you can wear for almost any occasion as well as look good on pretty much any build. It looks best with a point collar shirt, but it’s very versatile and easy to wear. Here’s how to tie a four-in-hand knot:
Starting with the wide end of your tie on the right, finish with the narrow end on the left, extending around 12 inches below the wide end of your tie. It is then necessary to cross the wide end over the narrow end.
Tie a Knot: Steps to follow:
Take the wide end, wrap it under the narrow end, and then turn it to the right.
After wrapping the wide end around the narrow end, wrap the narrow end across the wide end to the left side.
Using the wider end, pull the loop that is around your neck up and through it.
Your loop should remain loose at the front, so the loop should not be snug. Make sure that you take the narrow end and pass it through the loop there.
By holding the narrow end and sliding the knot up, you can tighten the knot to the collar carefully.
A Half Windsor Knot Half
Windsors are the least formal, but are considered the most versatile knot, working well in the workplace or at a wedding. Furthermore, it can be used by anyone, regardless of their body type. Half Windsor knots are usually worn by people of medium build, but they can also definitely work for people of larger frames as well. If you want to tie a half Windsor knot, start with the wide end of the tie facing you and then turn the narrow end towards you.
To tie a Half Windsor Knot, follow these steps.
Cross the wide end over the narrow end to the left.
Take the wide end and place it under the narrow end.
As you bring it up, bring it towards the neck loop.
Pull it through the loop of your neck and to the left.
Turn to the left and cross the narrow end over the wide.
Bring it up from underneath to the neckloop.
Once you’ve created your front loop, bring that down.
Tighten the knot and adjust the wide end.
A Kelvin Knot
You can choose the Kelvin knot if you’re looking for a more casual knot with some subtle details. Classic, but with more layers visible, it pops a bit more. There’s nothing better than the Kelvin knot. There’s something very Italian about this knot and also something very simple about it. This knot is perfect if you like the style of a traditional four-in-hand knot, but would like something a little more robust.”
A kelvin knot can become very thick if it is tied with a silk tie.
To tie a Kelvin knot, follow these steps.
Begin by flipping the tie over to face away from you. You should place the wide end on the right and the narrow end on the left.
Under the narrow end, bring the wide end to the left.
Overlap the wide and narrow ends to the right.
The narrow end of the wide end should be brought back under the narrow end on the left.
Cross the wide end over the narrow end to the right again.
Bring it up to the neck loop from underneath.
Pull it down through the front loop you just created.
Pull down on the wide end to tighten and adjust.
A Pratt Knot:
Attending a black-tie wedding? A more minimal and sleek knot is the Pratt knot. Half Windsors are almost reversed versions of half Windsors. It is also suitable for important business meetings. It looks clean, so it’s good for business. It’s a knot with not too many layers, so it’s a simple knot. It looks good with a point or semi-spread collar. It is very British in style.
To tie a Pratt knot, follow these steps.
Begin by flipping the tie to expose its back. The wide end should be on the right and the narrow end on the left.
Bring the wide end under the narrow end to the left.
Bring the wide end up to the center towards the neck loop.
Wrap it through the neck loop and to the left.
Cross it over the narrow end to the right.
Bring it up the neck loop from underneath.
Pull it through the front loop you’ve created.
Pull the wide end to tighten the knot and adjust.
Prince Albert’s Knot
Prince Albert knots are four-in-hand knots that have been folded twice over. It’s a small knot, but it gives the knot a little more visual interest than a traditional four-in-hand knot.
An after wedding cocktail party will benefit from this. Dress it up by pairing it with a club collar, button-down collar, or traditional collar, but not a wide collar since it is too slim for such a collar. Due to its slim shape, it is best worn with smaller necks.
How to tie a Prince Albert knot?
Start with the wide end of the tie on the right and the narrow end on the left. Overlap the wide end with the narrow end to the left.
To the right, slide the wide end under the narrow one.
From left to right, cross the wide end over the narrow end.
Bring it underneath the narrow end to the right.
Bring it back to the left over the narrow end.
Under the neck loop, bring the cord up.
Create a front loop and draw it through it.
Adjust and tighten by pulling the wide end.
A Murrell Knot
Unlike a Windsor knot, the Murrell knot has the narrow end facing out rather than the wide end. This is an inverted version of the classic Windsor knot. It can be used for any type of build. Moreover, a contrast tail works best with this tie.
If you are in a less formal situation but still need to tie a tie, this knot is perfect. Additionally, it would be appropriate for events that don’t require a tie and the wearer wants to show off their personality. Rather than wearing this to a wedding, you can wear it to an art fair, a gallery opening, or charity events.
Here’s how to tie a Murrell knot.
On the right side of the tie, start with the narrow end, and on the left, the wide end. Overlap the narrow end with the wide end on the left.
From underneath, bring the narrow end up to the neck loop.
Slide it to the left.
Take the narrow end around the back of the wide end.
Bring it up to the center and towards the neck loop.
Pass it through the neck loop and to the right.
From the narrow end, cross over to the wide end to the left.
Bring it up from underneath to the neckloop.
Create a front loop and draw it through it.
Adjust the narrow end by pulling on it.
A Balthus Knot
There is no denying that Baltic knots are among the kings of wide knots; however, they are not suitable for everyone. As they are so wide, they are best suited to fuller necks and frames, and they look good with wide collars.
Balthus is more suitable for casual occasions than weddings. However, it is also useful for working in the boardroom.
To tie a Balthus knot, follow these steps.
Start with the tie facing away from you, and flip it over so the back side faces outward. A wide end should be on the right and a narrow end on the left.
Place the side with the wide end to the left of the side with the narrow end.
Bring the wide end up to the center and towards the neck loop.
Bring it up to the right side of the neck loop.
Bring the necklace back up to the center towards the neck loop.
Pull down and through the neck loop.
Bring the necklace back up to the center towards the neck loop.
Through the loop on your neck, pull it to the right.
Overlap the wide and narrow ends to the left.
Bring it up from underneath to the neckloop.
Using the loop you just created, draw it down.
To tighten and adjust, pull down on the wide end.